How To
How to get the most from Inkscape’s features
- June 13, 2022
- Updated: July 2, 2025 at 3:39 AM
Inkscape is a robust graphic design tool that allows you to draw and modify vector-based images. Vector graphics provide numerous opportunities for artists to create satisfying visual pieces. The best part is that you can download and use Inkscape completely for free. Of course, a tool this expansive comes with a learning curve that will smooth out as you get a feel for the platform.
To learn how to get the most from this powerful application, follow the steps provided below.
Controlling the canvas
Inkscape gives you abundant drawing space each time you begin a new project. Since the canvas extends far beyond the limits of your screen, use these handy controls to pan and zoom your viewing angle. To pan the canvas, hold down Ctrl and use the arrow keys to scroll in your desired direction. Alternatively, holding Ctrl and pressing the B key will bring up a mouse scrolling wheel on the perimeter of the screen.
To adjust zoom levels, simply press the + and – keys. Inkscape keeps a record of previous zoom levels used in the project. Access prior perspectives with the apostrophe key.
Learning the Inkscape toolbar
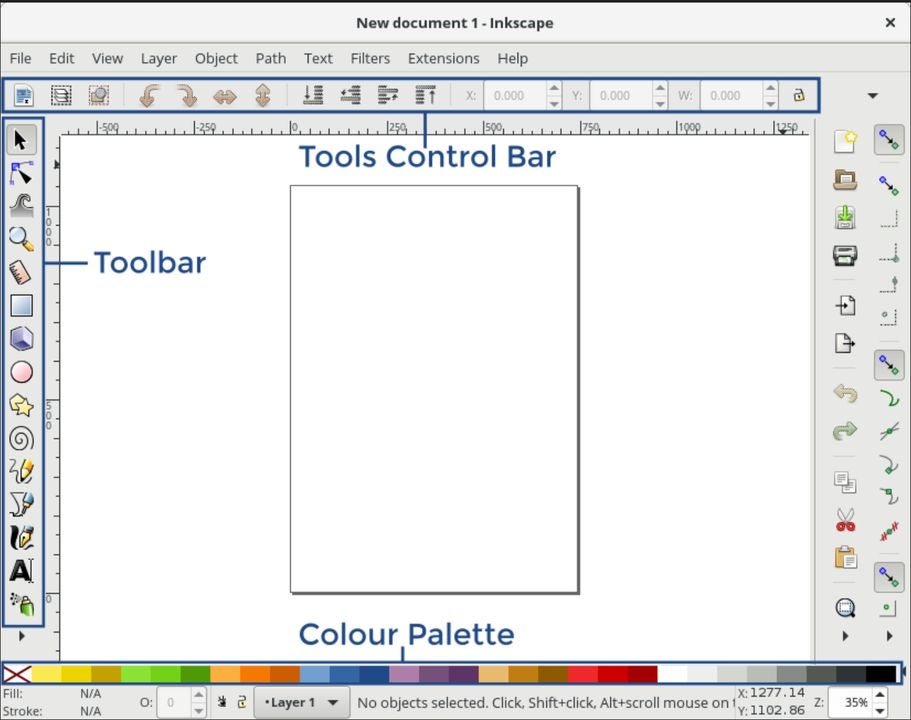
Like many productivity applications, Inkscape features a comprehensive set of toolbars that provide access to commonly used functions. At the top of the screen, you will find the command bar. This section allows you to perform major actions like saving and printing your projects. You will find the tool control bar directly above your drawing canvas. Here is where you will set the parameters for each drawing and creation instrument used in the project.
There is even a helpful status bar located at the bottom of the screen. The status bar offers hints and advice as you progress through your task.
Drafting and managing your documents
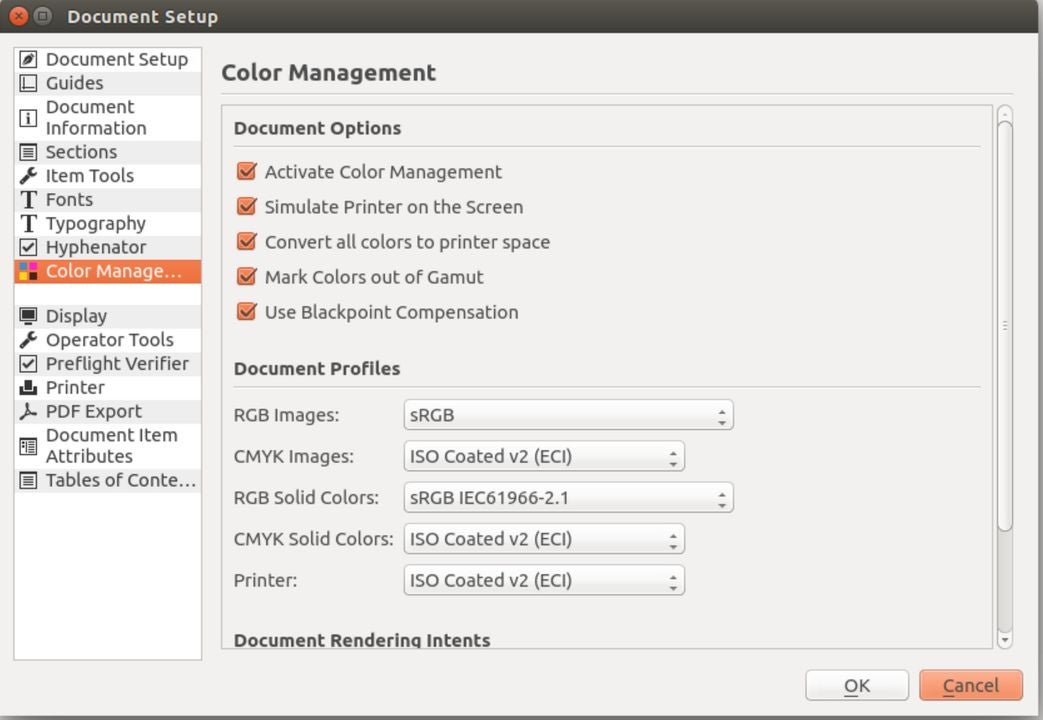
Each graphic design project is split into separate documents. You can open a document by clicking on file and selecting new from the command bar. To create a new document from one of Inkscape preexisting templates, click on file and select new from template.
Inkscape uses the Scalable Vector Graphics (SVG) file format. To open SVG files, hold Ctrl and press the letter O key. To save an SVG file, hold Ctrl and press the S key. When you have multiple documents running simultaneously, hit Ctrl + Tab to cycle between them.
Creating shapes and figures
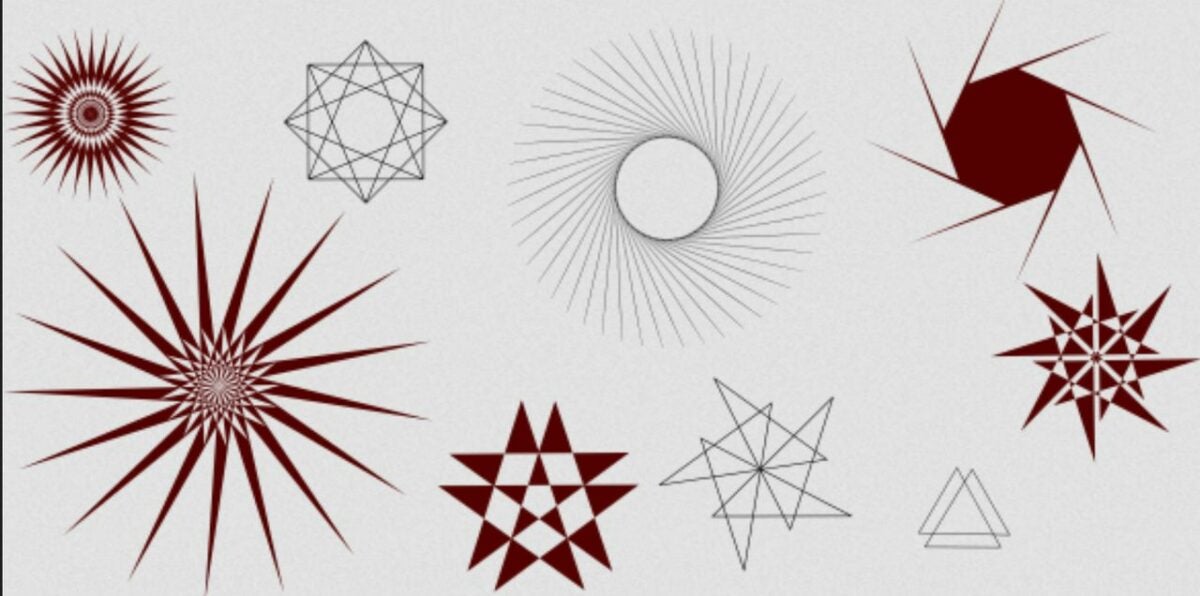
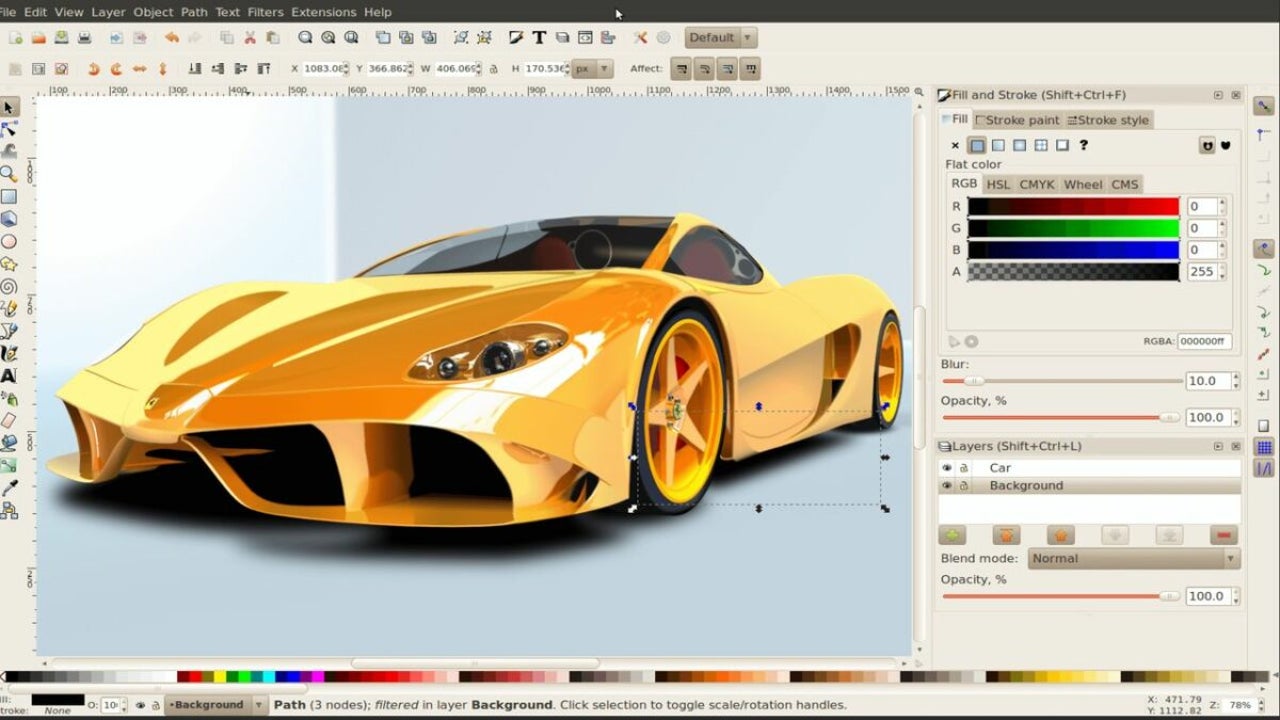
Vector images combine simple shapes to form complex graphic designs. Creating and placing shapes is one of the main actions you will perform with Inkscape. To create shapes, select one from the shape toolbar on the left side of the screen. You can choose from rectangles, circles, stars, and spirals.
Each shape has a draggable icon placed next to it. Click and drag your mouse to modify the scope of each object. Alternatively, the toolbar will update with specific options when you highlight any shape. If you wish to undo your last action, simply hit Ctrl + Z to revert the document to the previous state. You can also reverse an undo by hitting Shift + Ctrl + Z.
Select and modify existing shapes
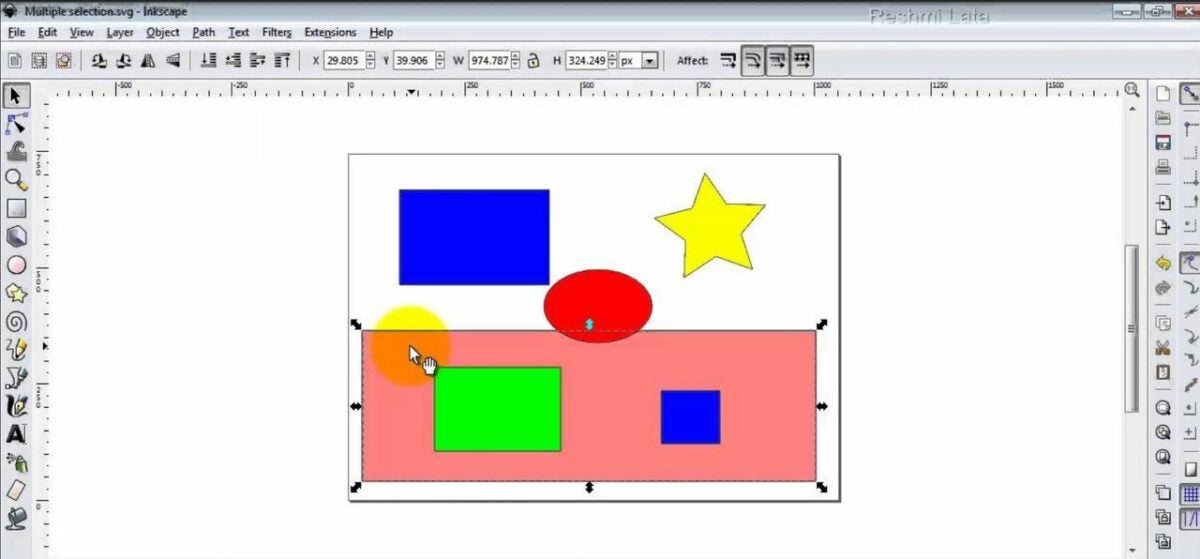
After creating each shape, you must still arrange them to create a design. The selector tool is how you will access these features. The selector tool is the topmost icon on the toolbar, or you can hit the space bar to toggle it. Clicking on any object will then select it. Once selected, move an object by dragging it with the mouse. For precise vertical and horizontal movements, hold Ctrl as you drag the mouse. To scale an object, drag the handle on the side of it. The Ctrl key can also be used to preserve the original height to width ratio.
Clicking the same object a second time will provide new option handles. To rotate an object, drag the corner handles with your mouse. You can rotate exactly 15 degrees at a time by holding Ctrl as you drag. To skew an object, drag the non-corner handles on each side. Holding Ctrl will limit the shearing to 15-degree increments.
Getting more from graphic design
The world of graphic design is always innovating with new applications that enhance what artists can do. To take advantage of the plentiful tools at your disposal, check out this list of the best graphic design apps you can download right now.

You may also like
 News
NewsDonald Trump thinks it's ridiculous that Bad Bunny performs at the Super Bowl, despite never having heard his music
Read more
 News
NewsThis upcoming adult animated series from Amazon Prime and its incredible cast
Read more
 News
NewsThe strangest and most unknown Netflix series in the world was really a test to prove that it worked
Read more
 News
NewsQuentin Tarantino worked in 2005 on an episode of a popular television series and even today it is one of his favorite works
Read more
 News
NewsThis Alien game was too long not because it was designed that way, but because the Alien's AI was too smart
Read more
 News
NewsThis game wants to put tens of thousands of soldiers on screen and for that it has had to give up Unreal Engine 5
Read more